Certain projects seem to instill anxiety in even the most hardcore enthusiasts. Wiring probably takes top prize in this category, with brake plumbing running a close second.
What makes brake plumbing such a headache? We strongly believe it’s the quality of the tools. Most brake tools are just junk, and junk tools create junk results. It’s just that simple.
We’ve successfully bent up hundreds of brake lines over the years. Our main secret? …
Step 1:
We buy our brake lines two ways. Usually we just buy it in straight sections from our friendly local auto parts store, where it’s generally sold in various lengths ranging from about 12 to 60 inches. If we’re lucky, we can find the exact length we need and avoid having to cut and flare one end. (We’re rarely lucky.)
When we’re tackling a big job, we buy our brake line in bulk coils of 25 or 50 feet. We often choose stainless steel for these projects instead of the plated mild steel that’s available in the straight sections. Not all stainless lines are created equal, so we’ve settled on Classic Tube as our go-to source. Their lines are annealed for easier bendinq.
Step 2:

Here’s another big secret: Always work from a pattern. If we have an old line to copy, that’s the easy button. If we don’t, we make our own pattern, usually out of 1/16-inch welding rod.
Step 3:

For this replacement, we started with a 60-inch line sourced from our local NAPA store. Using the old line as a reference, we made our initial bends by hand, working from one end to the other.
Step 4:

This photo reveals two more tricks. Secret 3: Instead of using a tool, we simply bend the tube around a found object that happens to have the right radius. Secret 4 solves what we believe is the biggest brake plumbing issue for most people: As we move along the line to make new bends, we tape it to the old line. This keeps it from twisting and losing its 3D reference.
Step 5 and 6:

Moving down the line, we continue to use found objects as bending tools. In this case, it’s a cast-off piece of 3-inch-diameter tubing.
Step 7:

Secret 5: Whenever we just can’t perfectly duplicate a bend, we stray from the pattern a bit. For example, this tight radius just wouldn’t bend nicely, so we made it larger. Note that we still brought the line back into the correct position before the next bend. How did we know we couldn’t achieve that tight radius? Secret 6: We tried it on a test piece first. Practice and mock-ups make perfect.
Step 8:

Our new line is officially bent. Now the straight part just needs a fitting and a flare.
Step 9:

Before we pick up our flaring tool, we remember to install the fitting, using some tape to secure it. We won’t mention how many times we’ve flared a line and then realized we didn’t have the fitting in place. So maybe this qualifies as Secret 7: Don’t forget the fitting first.
Step 10:

Our flaring tool of choice is Classic Tube’s Universal Hydraulic Flaring Tool Kit. We start the process by using the 3/16-inch holding fixture to clamp our line.
Step 11:

The fixtures will move a bit, so it’s important to accurately line them up. That’s Secret 8: Be very fussy and compulsive with your flaring tool. This is especially important if you can’t afford a high-quality tool. Cheap tools will work okay if you’re finicky (and don’t mind redoing things a few times).
Step 12:

Once the fixtures are lined up, we clamp them in place.
Step 13:

We insert the first die into the tool. This die flares the inside of the line.
Step 14:

The hydraulic pump presses the die on the line.
Step 15:

We insert the second die and again pump the tool. This die adds the final shape to the flare.
Step 16:

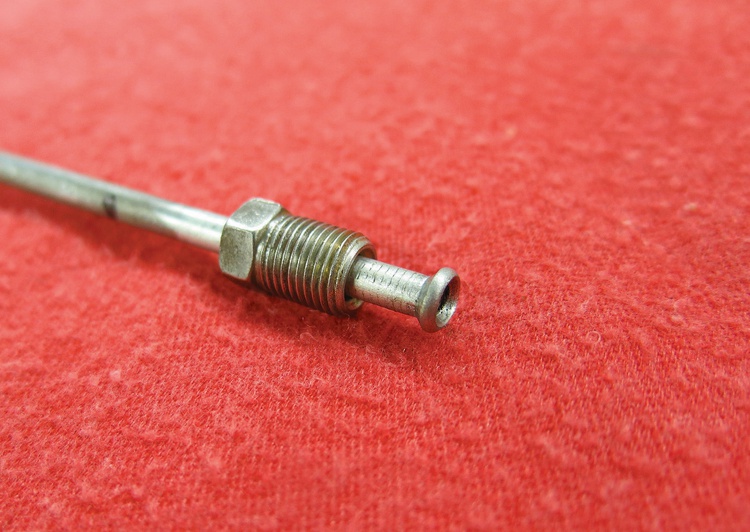
The result is a perfect flare that won’t leak.
Step 17:

And the finished line is ready to go in the car.


