[Editor’s Note: This article originally appeared in the December 2017 issue of Grassroots Motorsports.]
Despite the often-shared advice about not buying rusty project cars, sooner or later you’re bound to encounter one. And those rusty cars are filled with rusty, crusty and cruddy fasteners–the kind that can rarely be loosened, even with chemicals.
There is another option, though: the hot wrench.
We’re not talking about a propane or MAPP torch. While these low-buck torches have their place, they typically can’t generate enough concentrated heat to deal with rusty fasteners. A full-blown oxygen/acetylene outfit is usually our tool of choice.
Conventional wisdom says that heat expands the fastener and helps it come off, but the reality is a little different. Yes, the fastener expands, but its mating part usually does as well, so that’s not much help. The key instead is to apply just enough heat upon exactly the right area–for example, to the nut but not the bolt–so expansion works in your favor. Meanwhile, heating up rusty fasteners can actually burn away most of the corrosion.
Tools of the Trade
Here are two popular oxygen/acetylene torch kits. On the left is a traditional shop kit with fairly large tanks. These typically run about $350 to $500. On the right is a portable setup; it offers the same capabilities plus grab-and-go convenience, but expect it to run out of gas at exactly the worst time. (Our advice: Keep spare tanks on hand.) These smaller rigs cost about $250 to $400 or so.

No matter which oxygen/acetylene torch setup you choose, we like these two tips. On the left is the #0 welding tip that we use to heat smaller fasteners. On the right is a cutting tip. We don’t use the cutting feature when dealing with fasteners; this tip just happens to effectively apply heat to larger hardware.

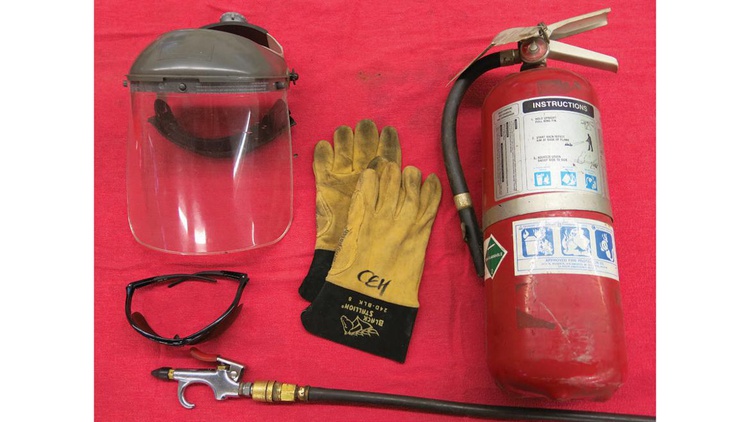
Safety is key when you’re using fire to move metal. We use an air line to blow out fires before they get too big and a fire extinguisher when the air line can’t do the job. Gloves plus face and eye protection are also part of the program, and we try to have a buddy watching us the whole time.
Torch Technique

When we’re dealing with a rusty fastener, we often heat it several times in succession, each time trying a slightly more aggressive technique, until the fastener comes off. Remember, though: Too much heat–or heat that’s not properly concentrated–just leads to damage.
First, we heat the fastener to a very dull red and then let it cool completely. Then we try to remove it. Often the fastener will come off like butter.
If that doesn’t work, we heat the fastener to a medium red. Again we let it cool and then try to unbolt it.
If it remains stuck, we apply the same amount of heat as before, but this time we try to undo the fastener while it’s still red, being very careful not to twist its mating part.
What if things still won’t break free? We try that last method several times–sometimes several heat cycles will do the job. If we still can’t get it apart, it’s time for bright red. While it’s time-consuming to run through this entire process, we figure it’s better than overheating the fastener on the first attempt and causing damage.
Follow along as we successfully remove three rusty fasteners from a Miata project car. We had to deal with a seized nut, a seized stud, and a seized hard brake line.
STEP 1:

First clean the nut and stud with a wire wheel. It’s especially important to get the threads as clean as possible. Removing every bit of dirt and corrosion helps the nut spin off easily once it’s unseized.
STEP 2:

Since this was a rather large nut and stud, we used the cutting tip as our heat source. We worked evenly around the nut, doing our best to heat only the nut and not the stud. We also limited the amount of stray flame allowed to go past the fastener. Our spotter watched for fire throughout the process.
STEP 3:

After the nut cooled, we tried to remove it. Still seized. We ended up heating and cooling it several more times, making the metal hotter each time until the stud finally went red as well. Then the nut came undone nicely. While we try to avoid that much heat, it’s sometimes necessary.
STEP 4:

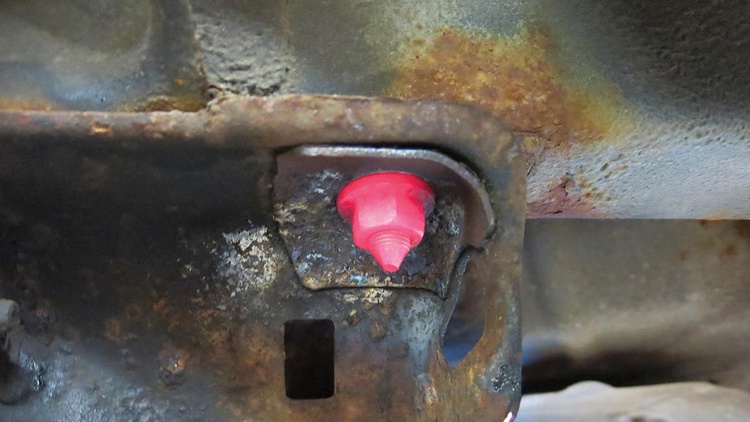
We had four stuck nuts on this subframe, and we wound up heating all of them. The other three required less heat and came apart undamaged, but we weren’t so lucky on this one. Galled threads meant that we’d be replacing this stud. However, it’s much better to deal with galled threads than a broken stud.
STEP 5:

We still had to remove that bad stud. We hit it several times with the torch, each time applying a little more heat. We didn’t want to heat the Miata’s unibody too much, so we had to concentrate on the stud, not the caged nut holding it in place.
STEP 6:

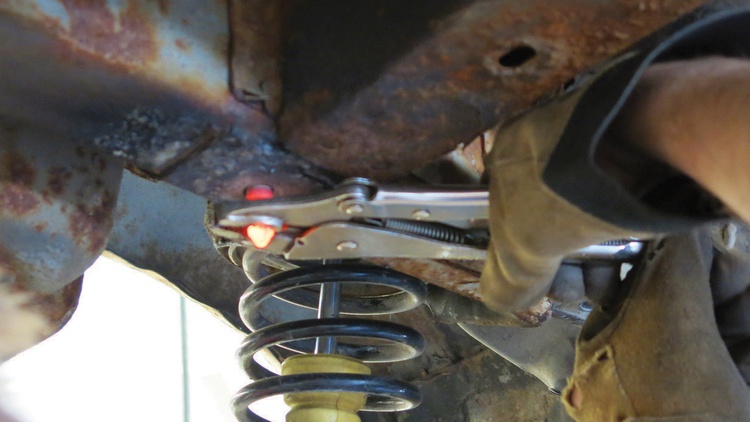
We were eventually able to grab the hot stud with our locking pliers and carefully twist it out.
STEP 7:

We also needed to remove the Miata’s rubber brake hoses in order to install braided replacements. The tube nut for the hard line was seized in the hose block, a common problem. We didn’t want to wreck the hard line when we loosened the tube nut, so we again readied the hot wrench.
STEP 8:

Another proper cleaning was in order. This time we started with a handheld wire brush, then moved on to some emery cloth. We wanted to make sure the tube nut would spin nicely on the brake line.
STEP 9:

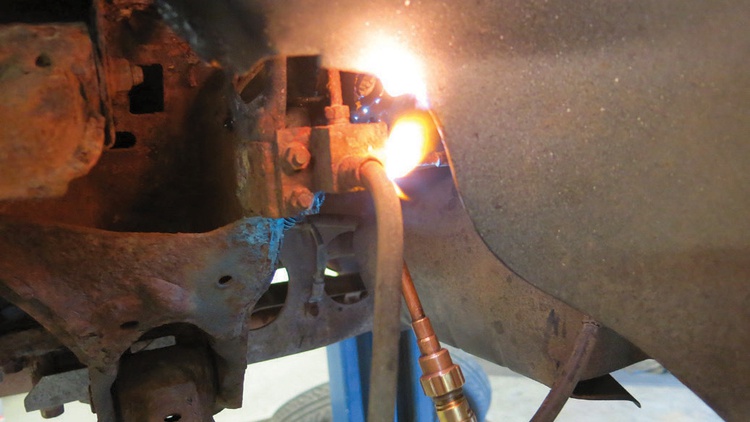
For this job, we used the smaller #3 tip to concentrate heat on the tube nut. Note that we opened the bleeder on the nearby caliper before this step. Why? To prevent the heat from expanding the fluid, weakening the rubber hose, and blowing a hot mess of brake fluid everywhere.
STEP 10:

This time we got a little luckier. Not only did the fitting come loose once it was cool, but we didn’t even need to put a line wrench on it.


