In the hierarchy of automotive dreads, rust repair and wiring rank near the top for most people. Rust repair we get, but wiring doesn’t have to be a nightmare. After all, a wire just goes from one place to another. How hard can that be?
The problem is there’s always more than one wire. And those wires connect to things. And …
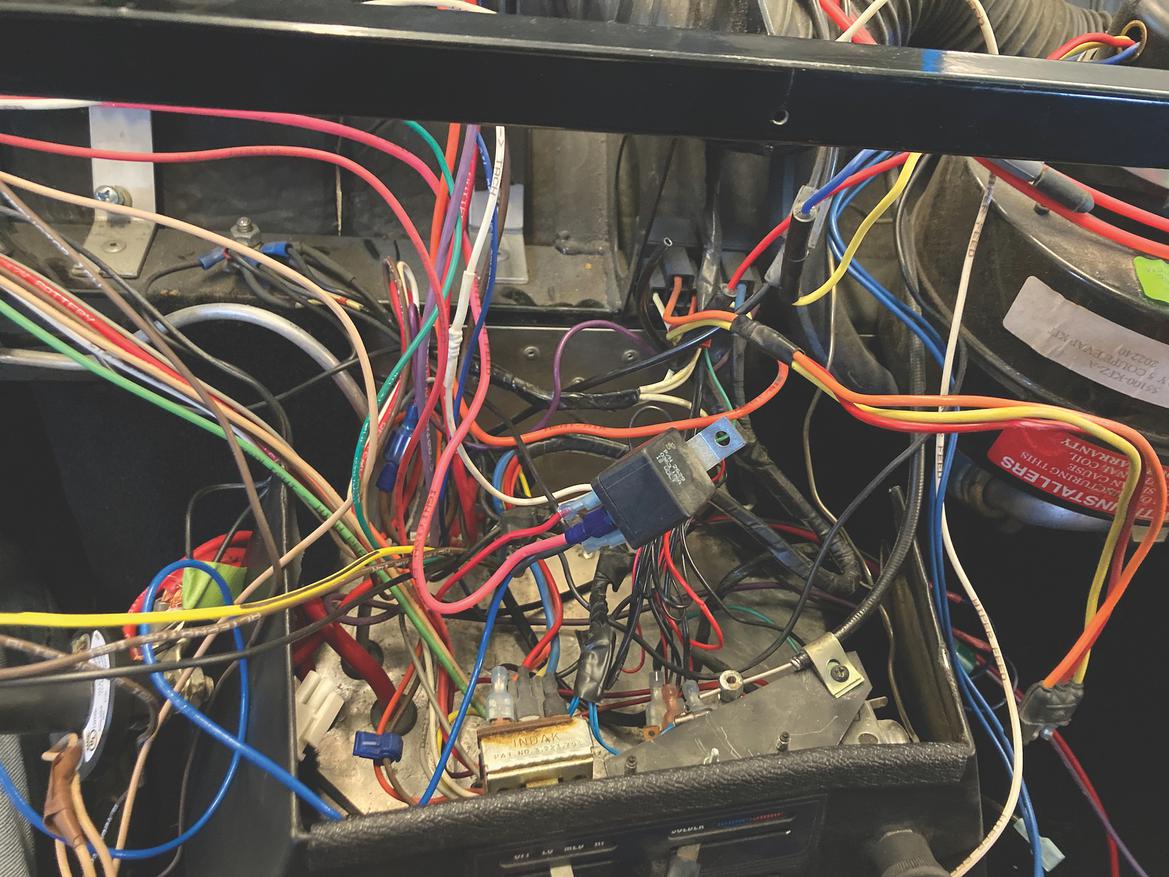
1. When we pulled the dashboard out of this Factory Five Coupe, we found a typical wiring mess: wires of all colors and lengths, some up to 6 feet too long, plus relays that couldn’t be serviced without removing the dashboard. Terminals ranged from quality and properly installed to tape and wire nuts. Overheated and partially melted wires and terminals had simply been left in place. We had a lot of work to do.
2. After spending a little time trying to remedy things in situ, we realized we’d save time by removing the fuse box and main dashboard harness from the car. We labeled and photographed everything before pulling it out so we had good references for later.
The easiest way to make wiring serviceable is to untangle the mess and neaten everything. Our neatness rules include not crossing wires; keeping appropriate wires bundled together, often in subbundles; and keeping lengths exactly appropriate. This neatness takes time.
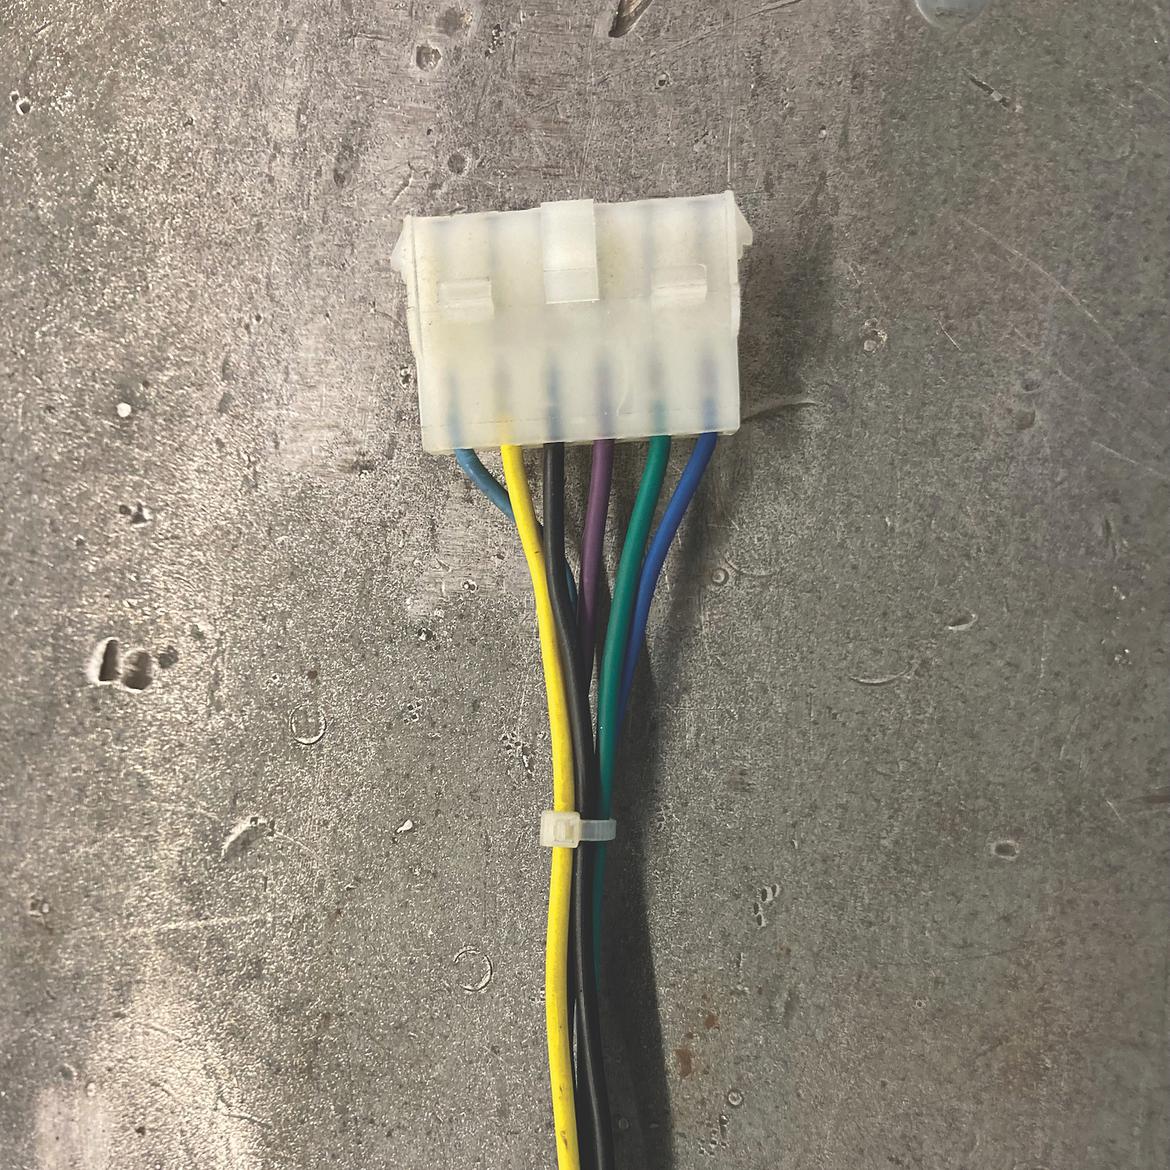
3, 4. Along the way, we found some wires tangled right at their multi-wire connectors. We de-pinned those connectors and organized the wires, making sure to keep them in the right place and not cross them. In this case, we used some temporary zip-ties to keep the bundle neat.
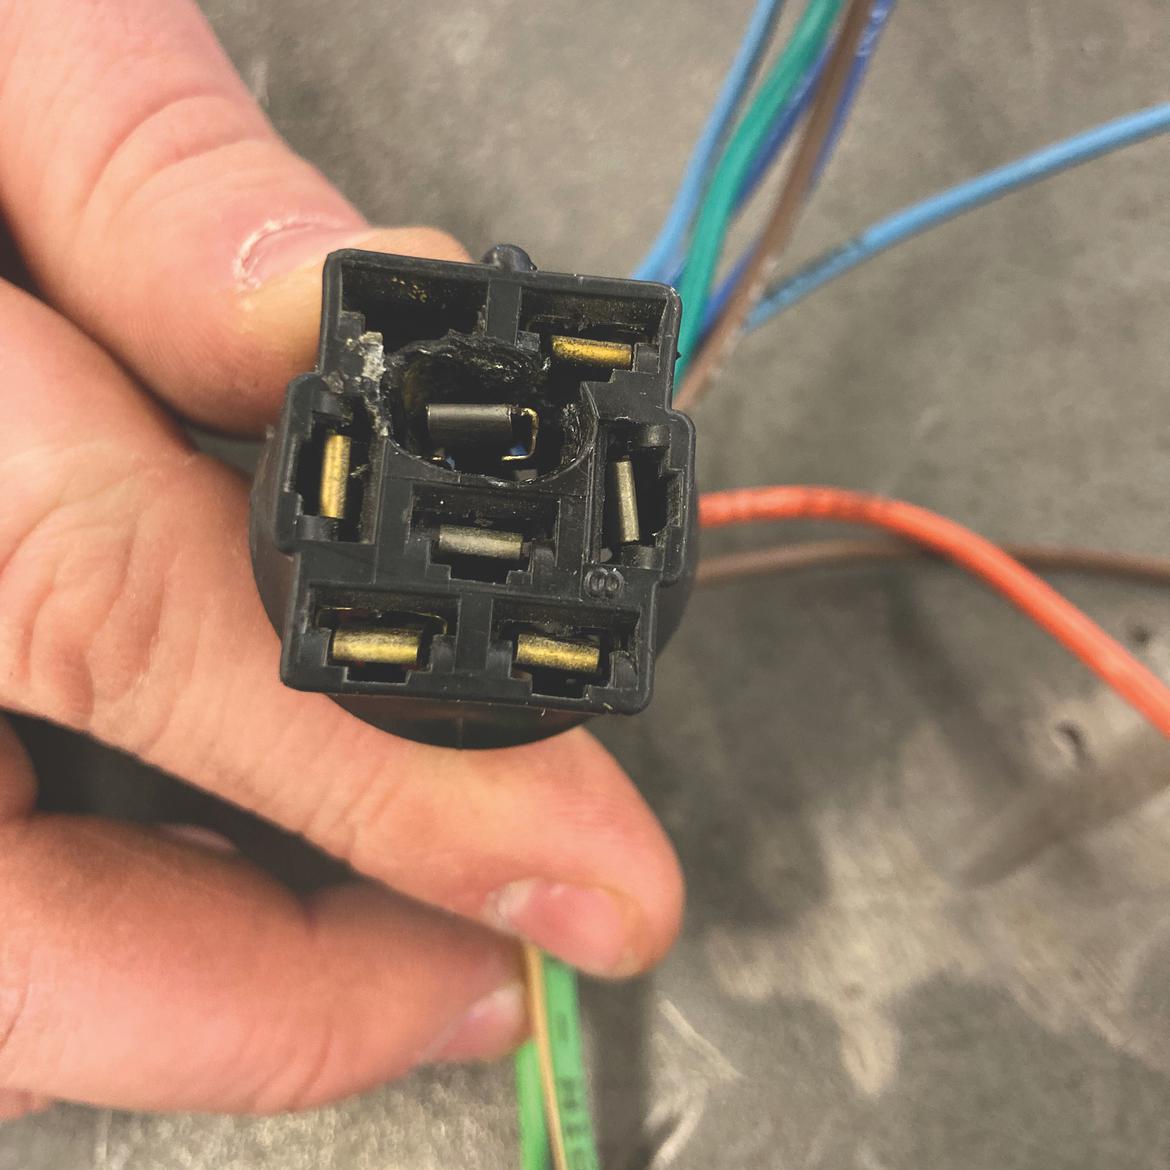
5. Some of our multi-wire connectors had melted. Fortunately, American Autowire sells replacements, so we reterminated the wires and then neatly inserted them.
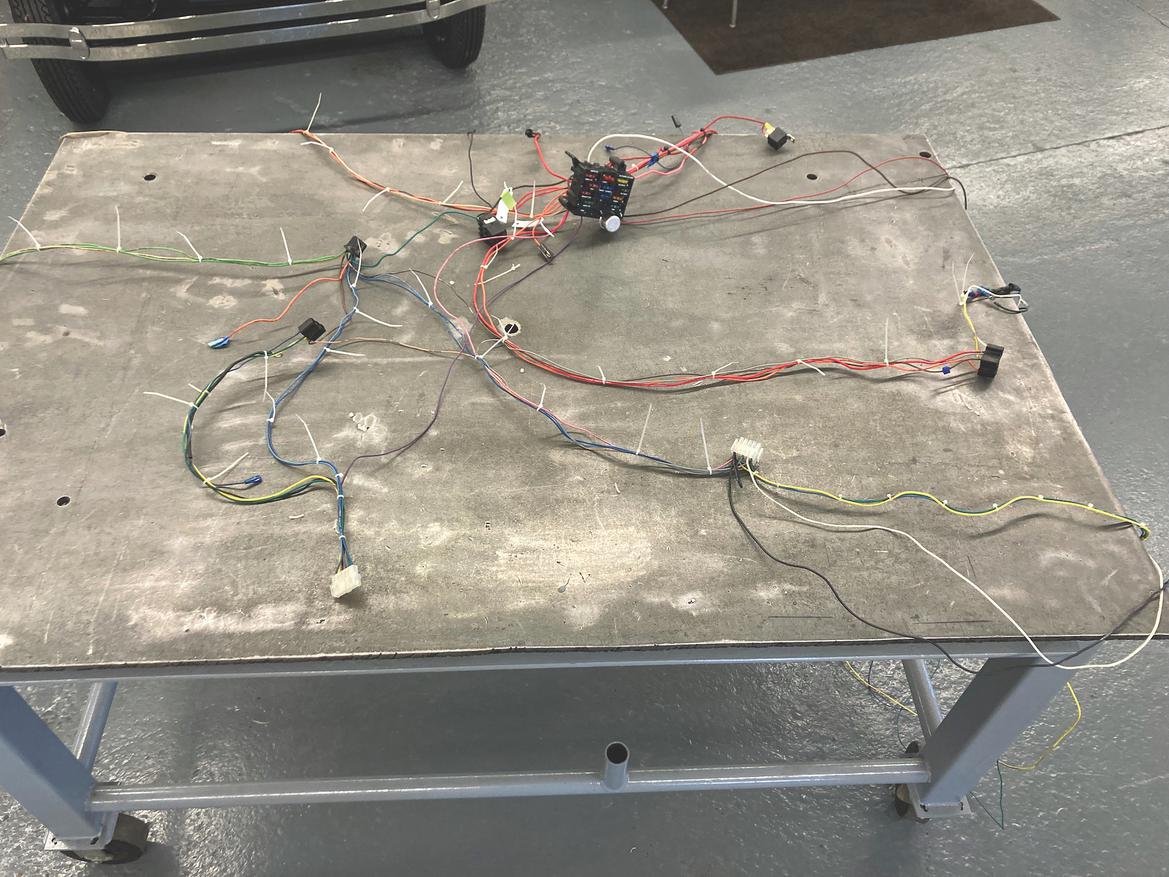
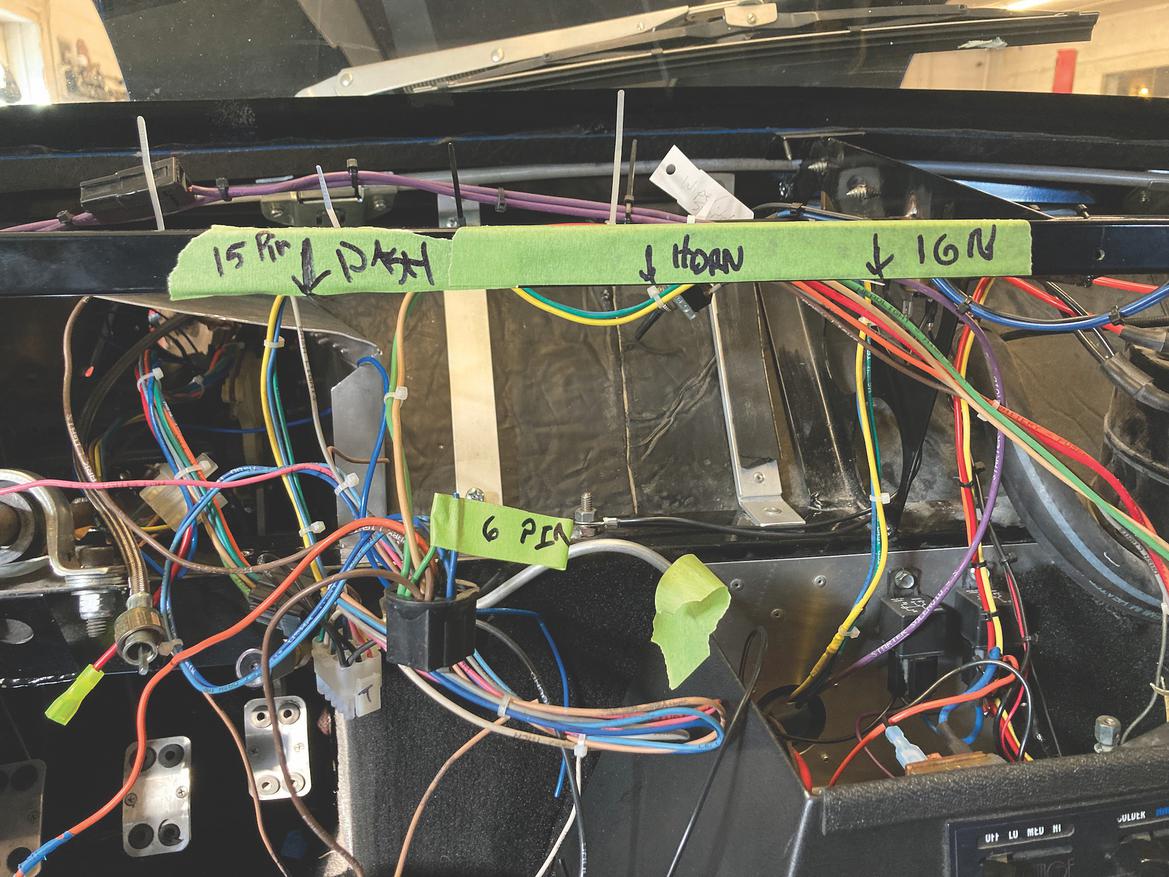
6. At this point, we had the harness roughed out. We used more temporary zip-ties to keep the subbundles organized. We could then reinstall the fuse box and harness and work on routing and neatening the subbundles.
7. Dealing with 15 to 20 circuits and a lot of colors can be overwhelming. The American Autowire harness had printed circuit names on the wires, so that made the job easier for us (and less reliant on a wiring diagram). Where we needed more information, we got out the tape and Sharpie to label things.
8. We then neatened each subbundle. After determining appropriate lengths and reterminating wires as necessary, we neatly held together the wires in the subbundle with zip-ties, making sure they didn’t cross each other. This is part of our method for simplifying future service, as any wire can be easily seen and traced. If, for some reason, a wire needs to be removed or added, it can be done without disturbing the rest of the bundle.
Finally, we routed the wires along appropriate paths and attached them to the supporting structure. Note that we use zip-ties to bundle wires or attach those bundles to supporting structure, but never both at once. This allows us to pull a subbundle from its supporting structure for service without messing up the bundle.
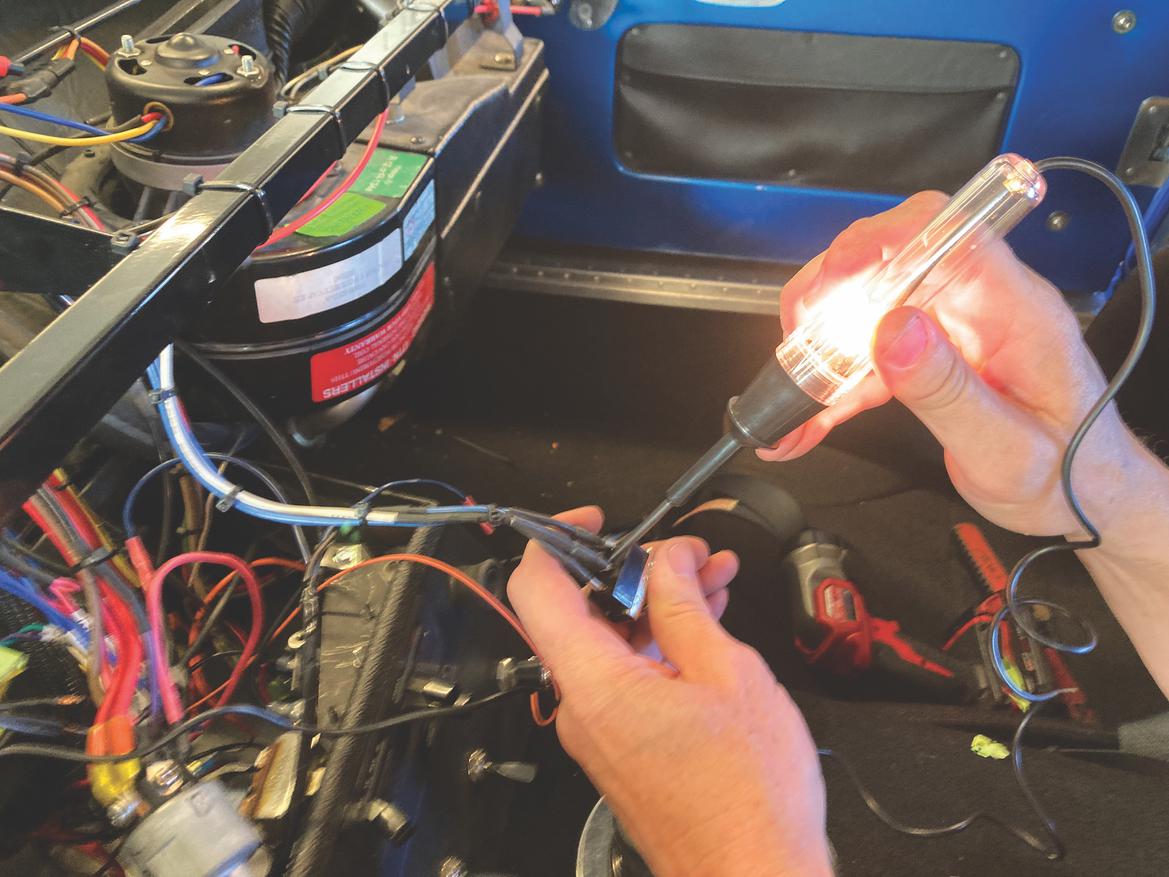
9. As we assembled each subbundle, we did our best to test our work. We’d generally attach a fused power source to the subbundle and then determine that the component was working properly. If we couldn’t test the component, we’d use a multimeter or test light to make sure polarity and continuity were appropriate.
[How to solve common electrical issues with only a test light]
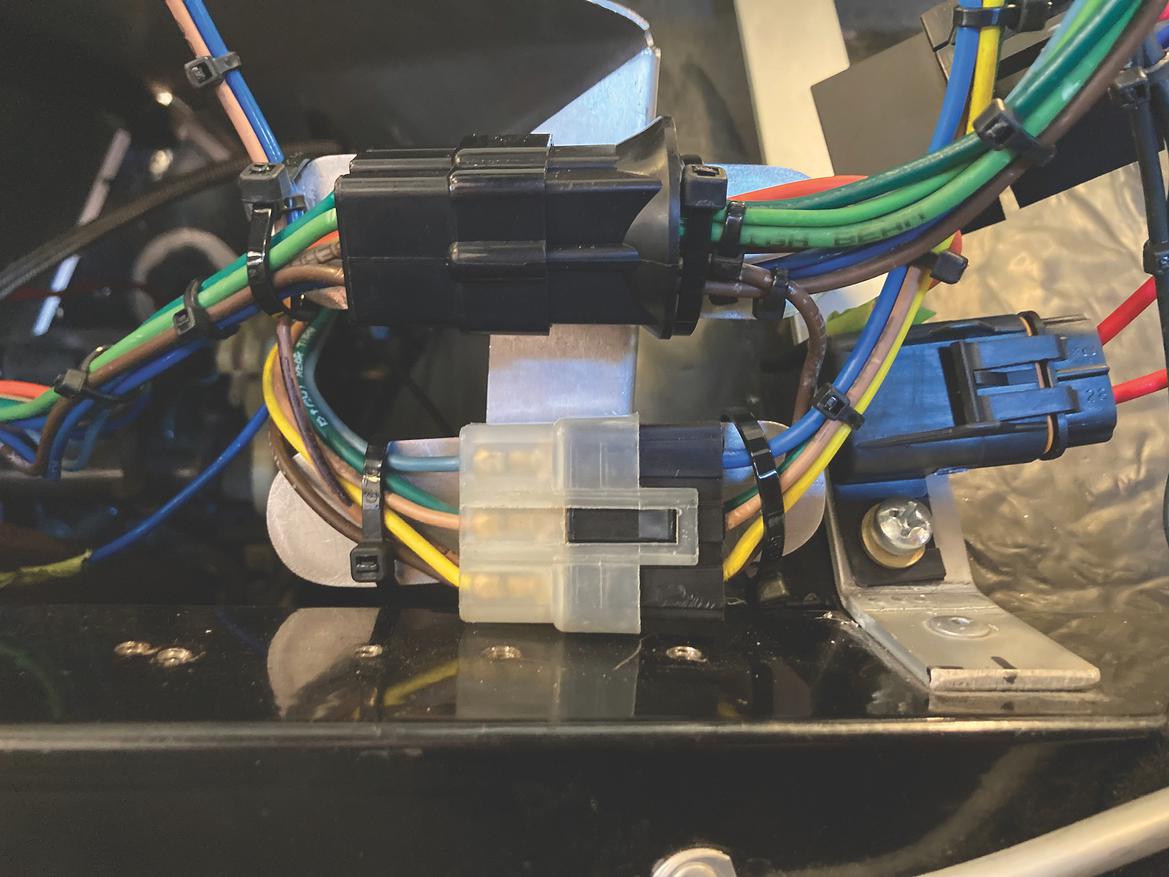
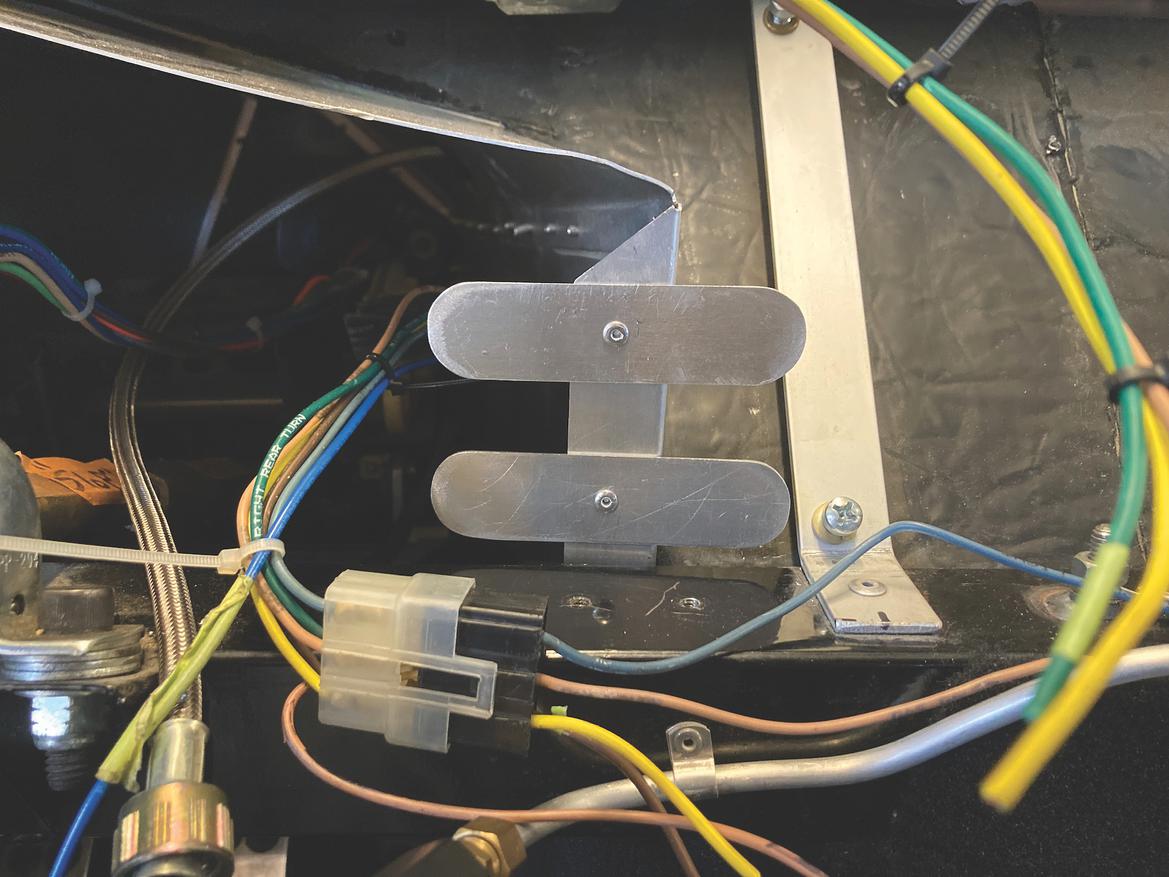
10, 11. Unsupported multi-pin connectors are a pretty big sin: They’re relatively heavy and sooner or later tend to shake themselves loose, even with quality snap connections. So we strive to attach and support them to some structure. In this case, we made some brackets to zip-tie them in place. We were careful to locate the connectors and brackets in a place where they could be reached with the dash in place for future service and repair.
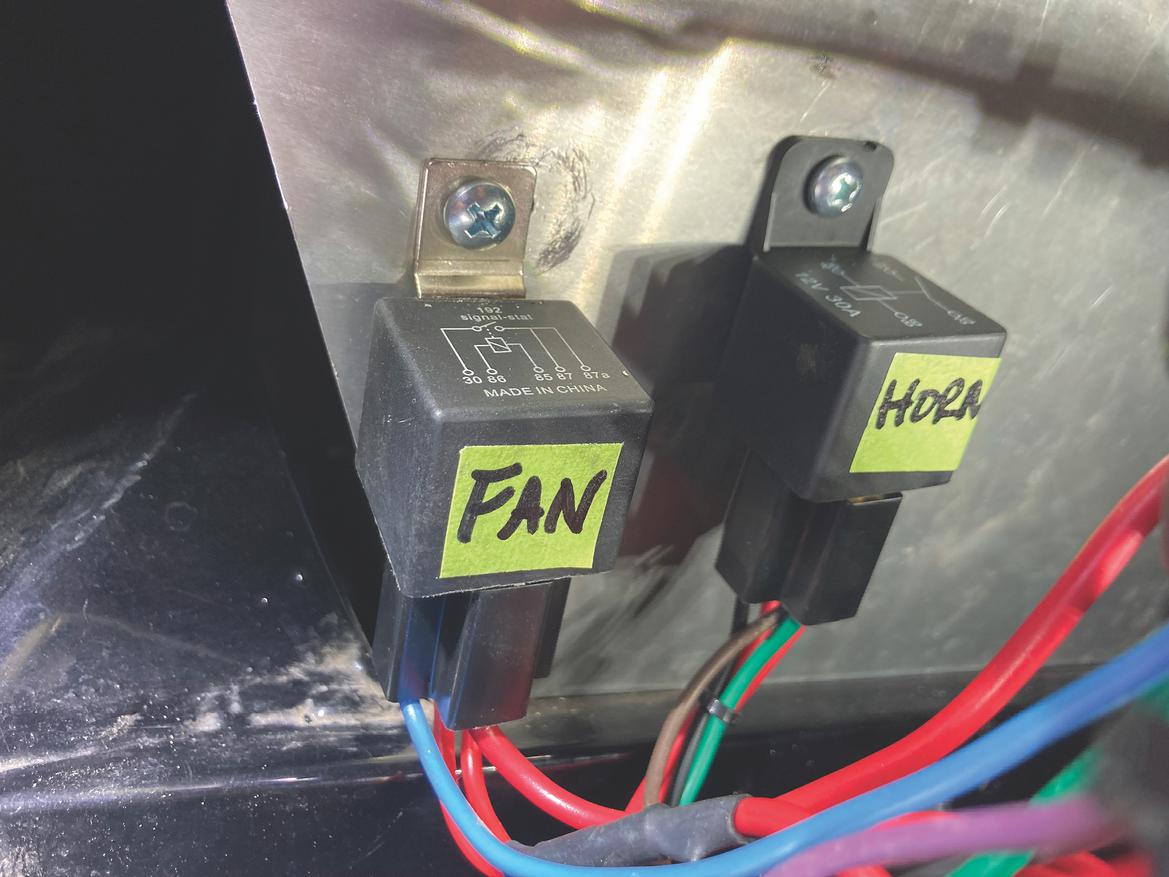
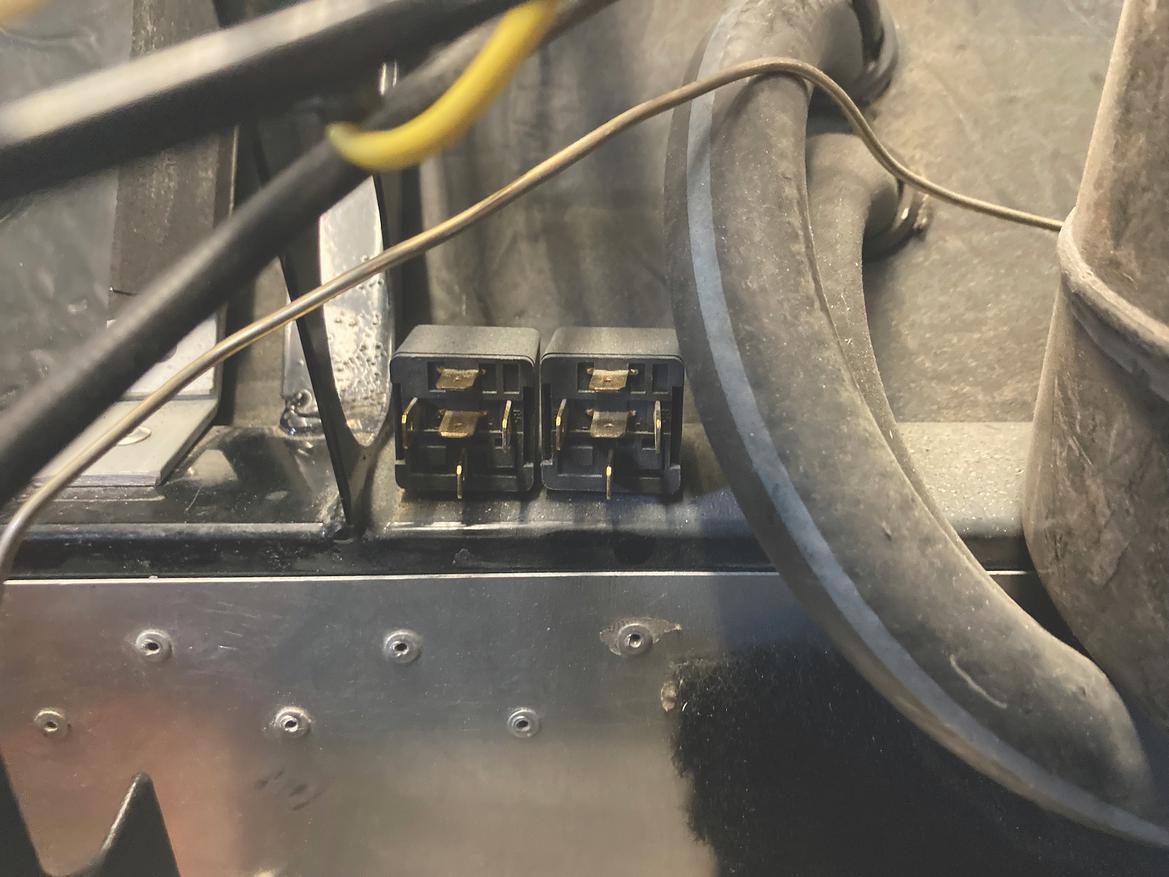
12, 13. These relays were previously installed in a place completely unreachable with the dash installed. Since relays fail from time to time and need to be serviced, we relocated them within easy reach. We also converted their connections from four individual wires and terminals to four terminal multi-connectors sourced from Terminal Supply. Finally, we labeled them.
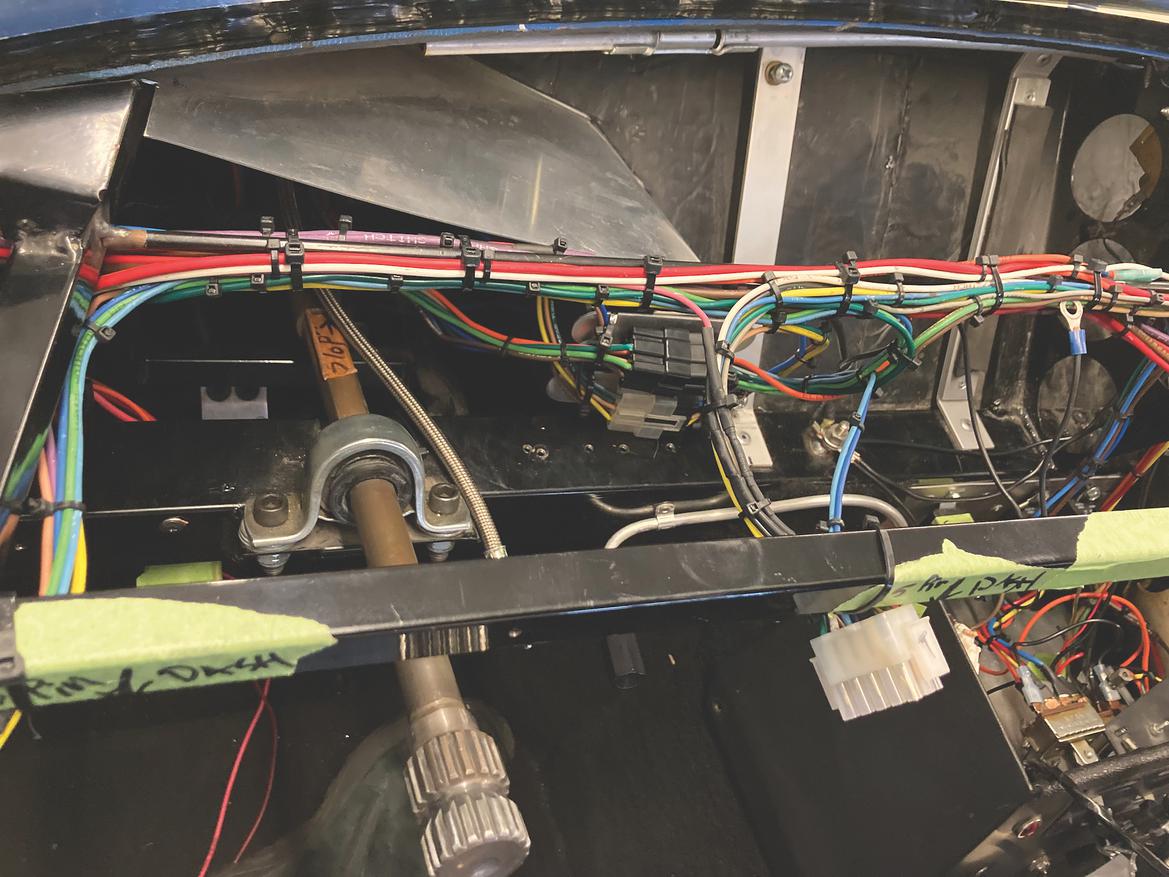
14. Several hours later, the dash wiring was starting to look reasonably neat. Almost all the zip-ties in the picture are still temporary. Several times, we found ourselves adding or rerouting wires in the big bundle as we cleaned up subbundles or relocated components.
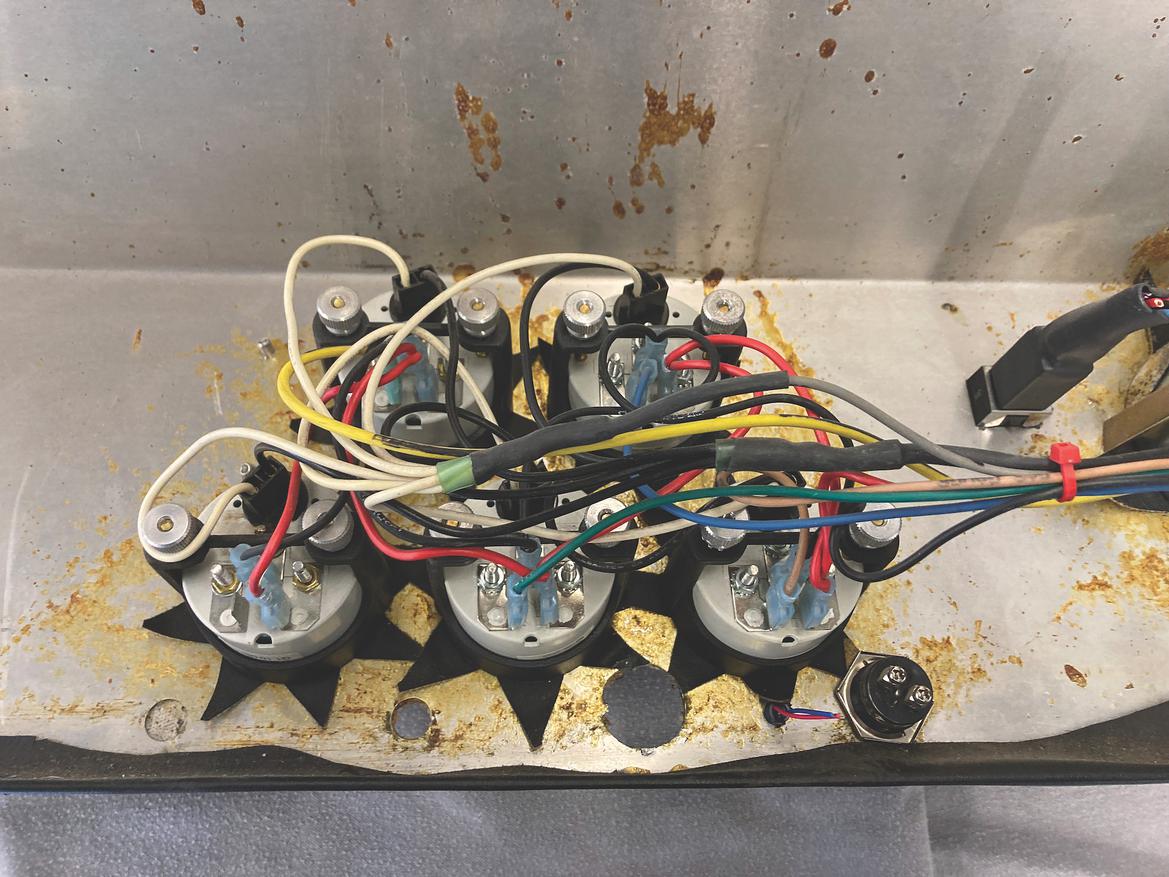
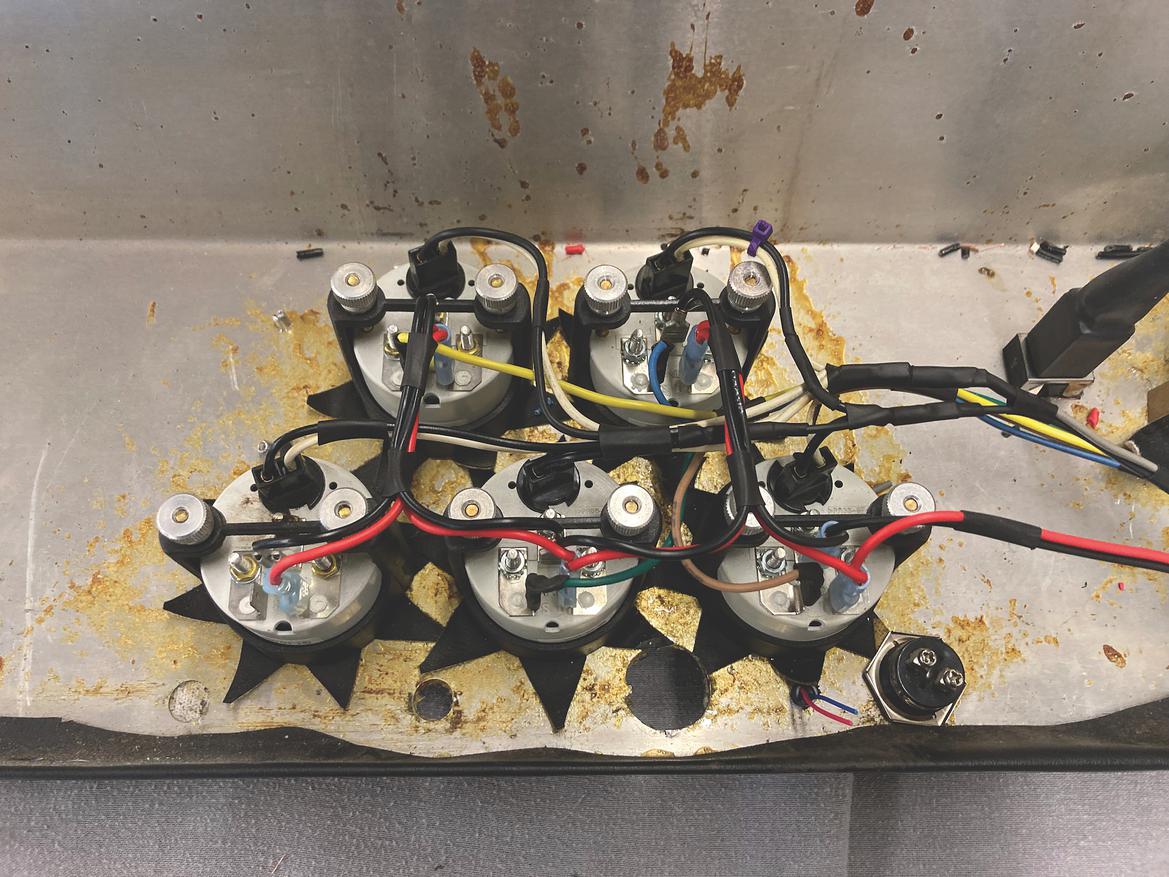
15, 16. The subbundles behind the gauges didn’t start as such a mess, but we were still able to clean them up a bit.
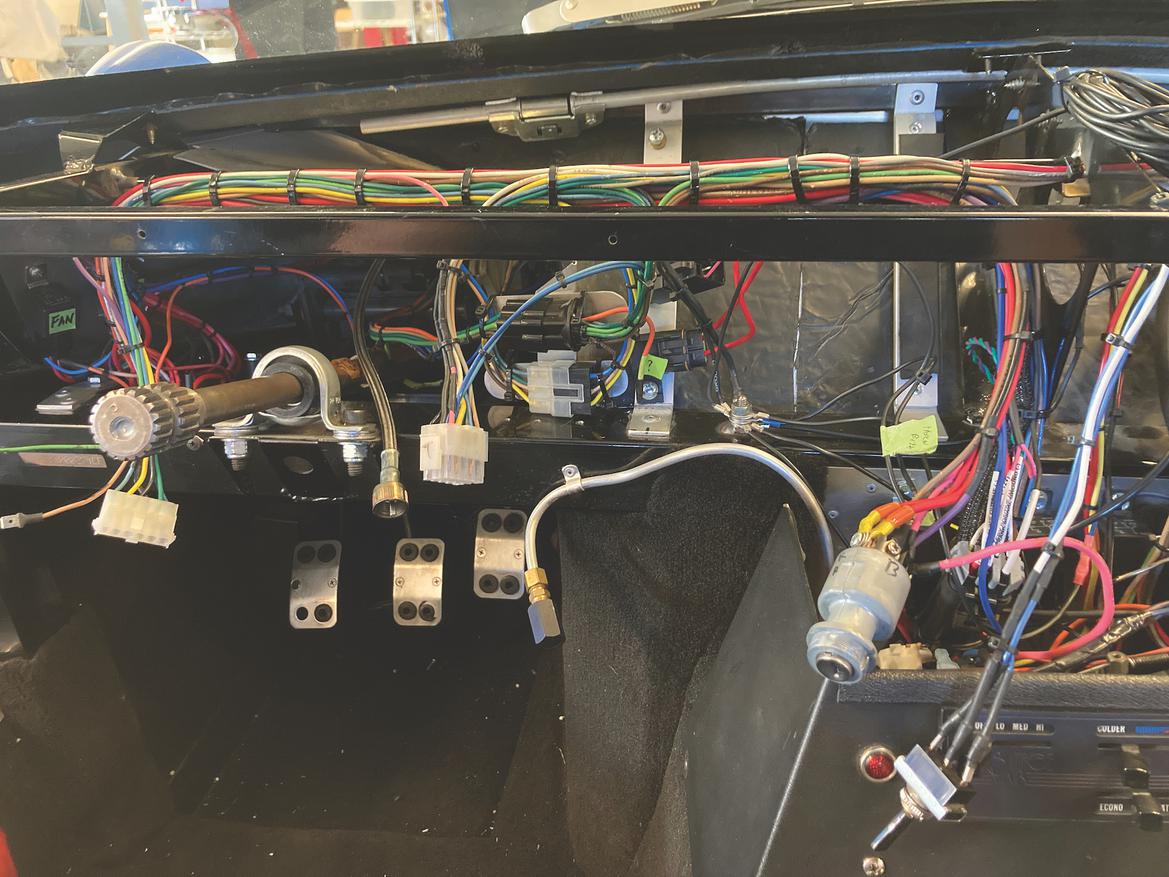
17. We finally had a dashboard harness that wasn’t frightening. We put the final set of zip-ties around the bundles and strapped the bundles to their supports before installing the dashboard and doing one last test.


