After years of dreaming of our own machined parts, we jumped down the rabbit hole. We’re not claiming to be actual machinists, but we are learning how to machine parts at home.
In the first installment of this series, we learned about design, technical drawings and CAD models. Part 1 concluded with some aluminum parts made to our drawings by SendCutSend …
3D Printer Types
There are two common methods of 3D printing at the consumer level: fused deposition modeling (FDM) and stereolithography apparatus (SLA), though SLA printers are often just called resin printers. Adding to the confusion, FDM printers are also referred to as FFF, which stands for fused filament fabrication. There are many other types of 3D printing/additive manufacturing, but if you’re looking for information on zillion-dollar Inconel powder laser welders, you’re probably not the right audience for this article.
So, let’s talk FDM versus resin printers, because you’ll have one in your Amazon cart before you know it.
FDM Printers:
It’s easiest to start this discussion with what you already own, the typical inkjet printer. When you hit print on a Word document, your printer sucks up a piece of paper and starts slowly moving it toward the outside world. We’ll say the paper is moving along the y-axis.
Let’s add that text: Your printer only has one color, black, and its ink cartridge moves back and forth across the paper, along an axis we’ll call the x-axis. That ink cartridge squirts out little dots of ink as it moves across the page.
By combining movement of the x (cartridge) and y (paper) axes, your printer can put dots anywhere on the page. And by combining lots and lots of tiny dots, your printer makes words appear. Congratulations, you’re now an expert on two-dimensional printing.
Where does that third dimension come into play? Meet the z-axis, which differentiates your 3D printer from a 2D printer. The z-axis allows the ink cartridge to move up and down instead of just left and right.
FDM printers work the same way regarding the x- and y-axes (though that piece of paper is replaced by a flat part called the build plate). But rather than squirting dots of ink, they squirt melted plastic. By squirting plastic in the same spot repeatedly, they add multiple layers along the z-axis–sometimes thousands–until they’ve printed a three-dimensional item.
What squirts the plastic? Not an ink cartridge, but something called an extruder. In its simplest form, an extruder is just a heated nozzle that’s fed plastic by a motor. That plastic is sold on rolls and called filament, and it looks like yard trimmer string.
SLA/Resin Printers:
Resin printers, rather than squirting melted plastic into the shape of parts, build things with a different method.
We’ll start with the setup: a big, square vat of curable photopolymer (usually UV resin), not entirely unlike that fancy glue your dentist uses. Like that dental glue, printer resin stays liquid until it’s exposed to UV light. Upon exposure, it instantly hardens into solid material.
So the printer has a big, square vat of UV resin, and if it’s all exposed to UV light, it hardens into a solid square block. But it’s not going to be exposed all at once. Instead, resin printers use an extremely focused laser, sort of like a more precise laser pointer, and shine it on only one part of the resin at a time. By waving the laser around, the printer creates layer after layer of hardened resin within the larger resin tank, until the print is complete and ready to be removed from the resin bath it was built in.
Choosing a Printer
Which printer is the right choice? As with most things, it depends. At the consumer level, FDM printers are usually less expensive, faster, and print stronger parts. Resin printers typically have a smaller build volume, and they require messy (and expensive) maintenance and consumables.
Pretty clear winner, right? Well, resin printers have an ace up their sleeve: quality.
FDM printers almost always fill your part with visible layer lines and will struggle with tiny details, while resin printers can print extremely smooth, detailed, consistent models. That’s why they’re the printer of choice for anybody building action figures, jewelry and the like.
For building race car parts, though, we’re convinced that an FDM printer is the way to go. And that choice opens up hundreds of options, with everything from $100 kits to $100,000 industrial machines available to FDM printer shoppers. We wanted the Miata of printers: something inexpensive, common, and with a strong aftermarket and tons of free knowledge being shared online.
Meet the Miata
What’s the Miata of 3D printers? We found the answer to this question on the Grassroots Motorsports forum: the Creality Ender 3.
This printer isn’t the best at anything, but it’s pretty good at everything, it’s inexpensive (prices hover around $200 unassembled), and it’s widely supported. We had one on our doorstep a few days after ordering and assembled it in an evening. Just like that, we were 3D printing in the garage. A normal Ender 3 has a maximum build envelope of about 8.6×8.6×9.8 inches.
But it’s not that easy.
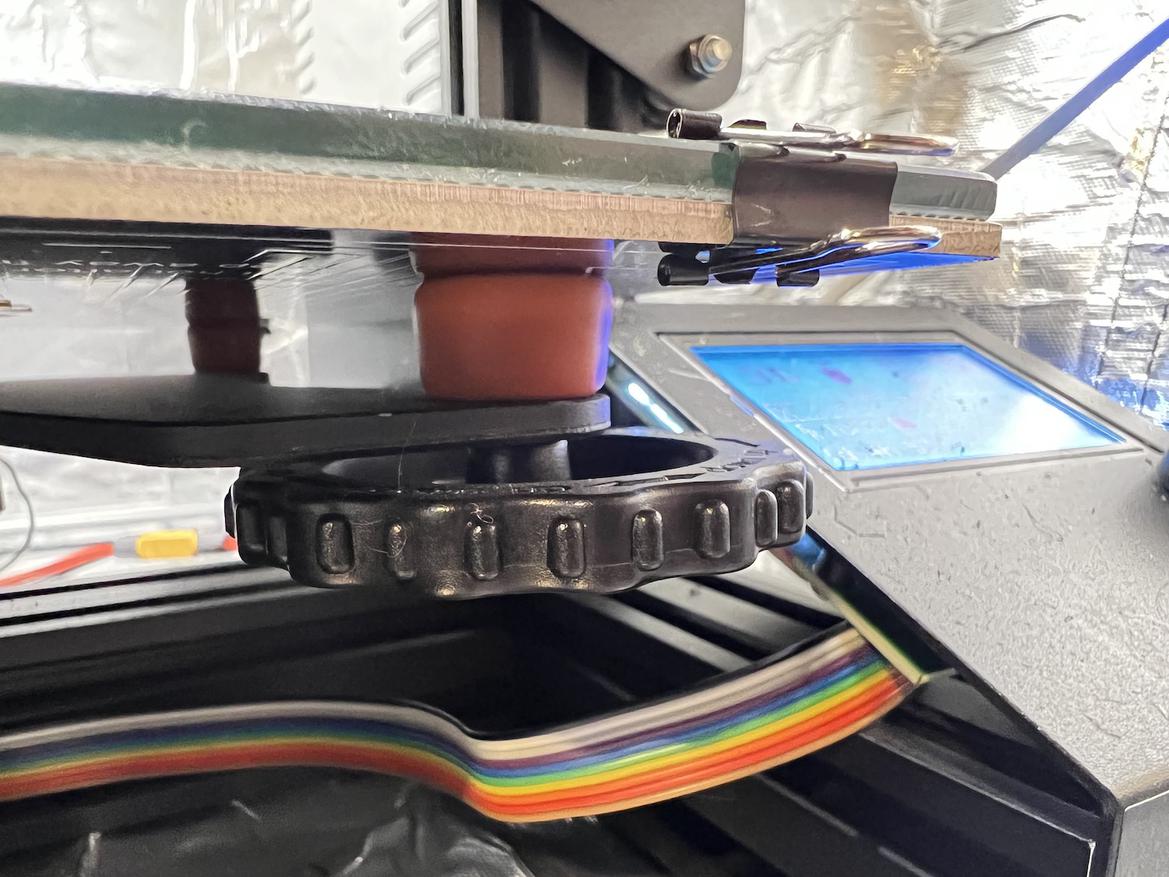
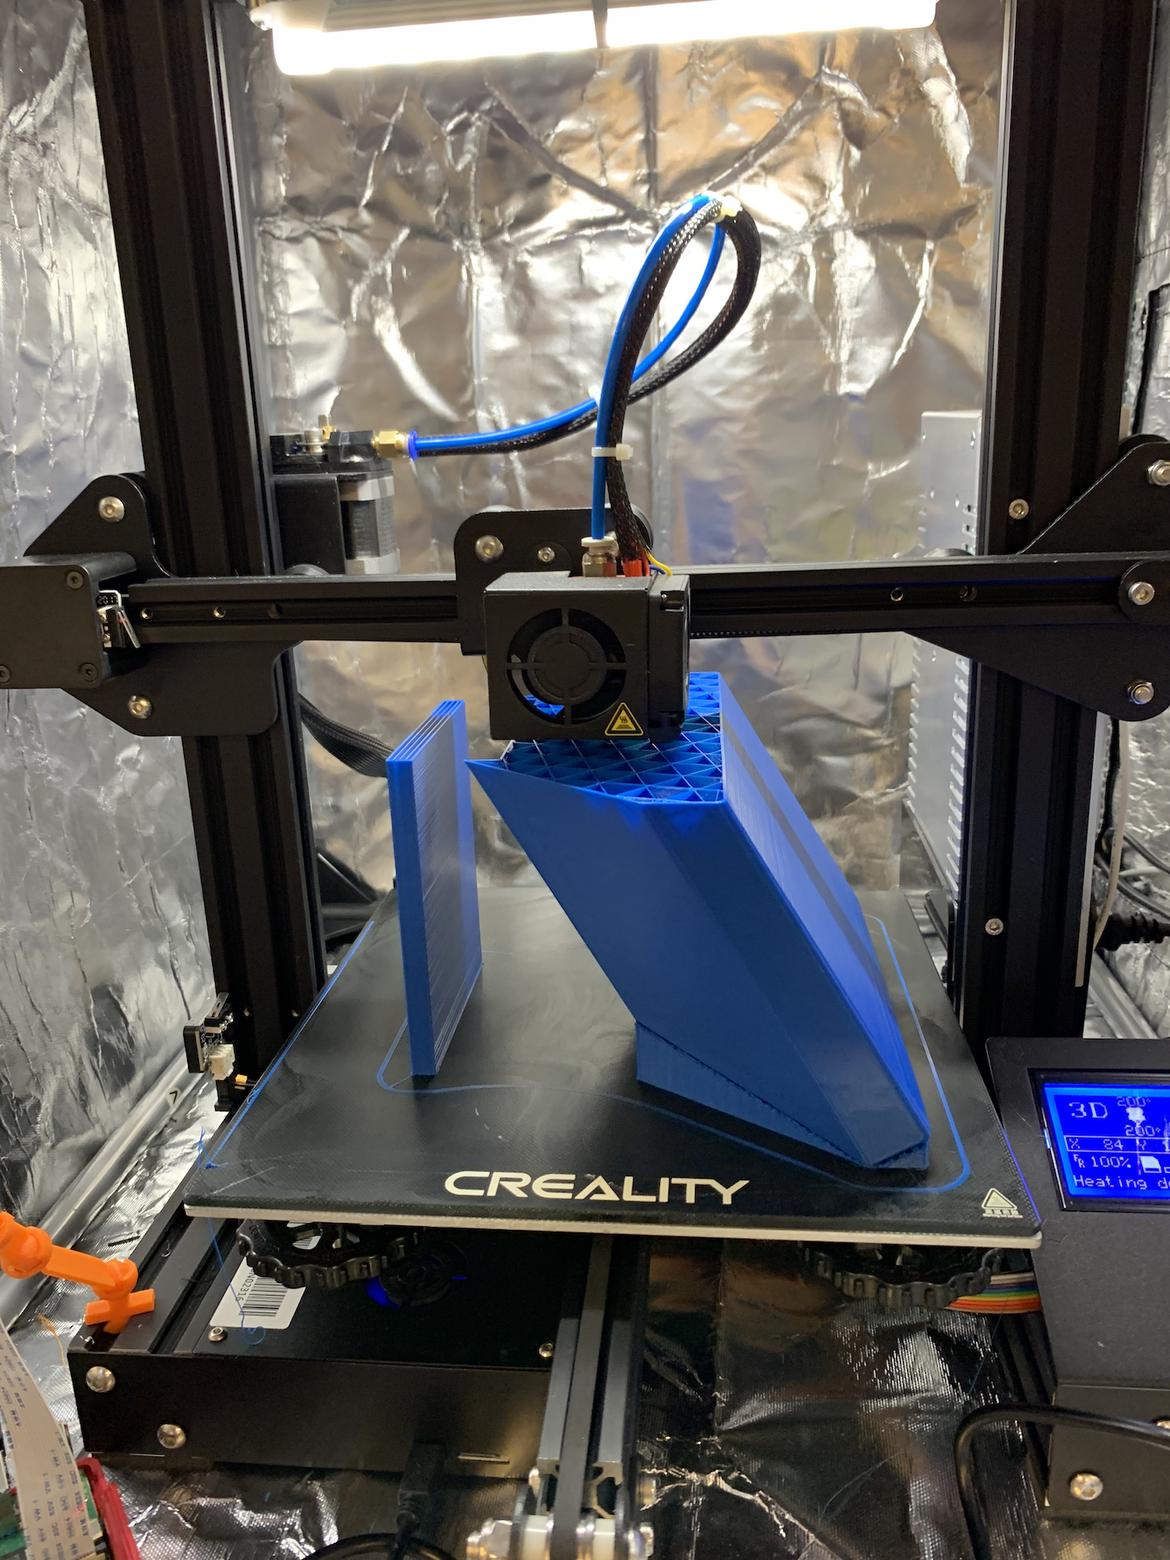
Meet the Miata of 3D printers: Creality’s Ender 3. You can even modify it like a Miata, as illustrated by our glass bed and stiff orange suspension bushings.
You’d call us crazy if we explained there was a learning curve for your laser printer but, sadly, regularly operating a 3D printer can be difficult. Rather than set it and forget it, we quickly realized that keeping a low-end 3D printer running is a hobby all by itself.
Just as we aren’t CAD tutors, we also aren’t 3D printer professors. We advise you to just read the instructions carefully and be prepared to experiment with settings until you’re able to produce clean, consistent prints. For us, that meant about a kilogram of wasted filament and a few aftermarket upgrades, including adding a glass bed ($13), swapping from sprung to solid bed mounts ($9), and upgrading our extruder to an all-metal hotend ($20). We also bought a $70 enclosure to prevent drafts from warping our prints and to keep out the dirt and grime floating around the garage.
If you’ve ever tinkered with R/C cars, tinkering with your printer will feel remarkably similar. Don’t be afraid to dive under the hood.
3D Printer Materials
So you’ve bought a printer, given it a thorough tune-up, and printed a few test models from Thingiverse. Time to put it to work in the garage.
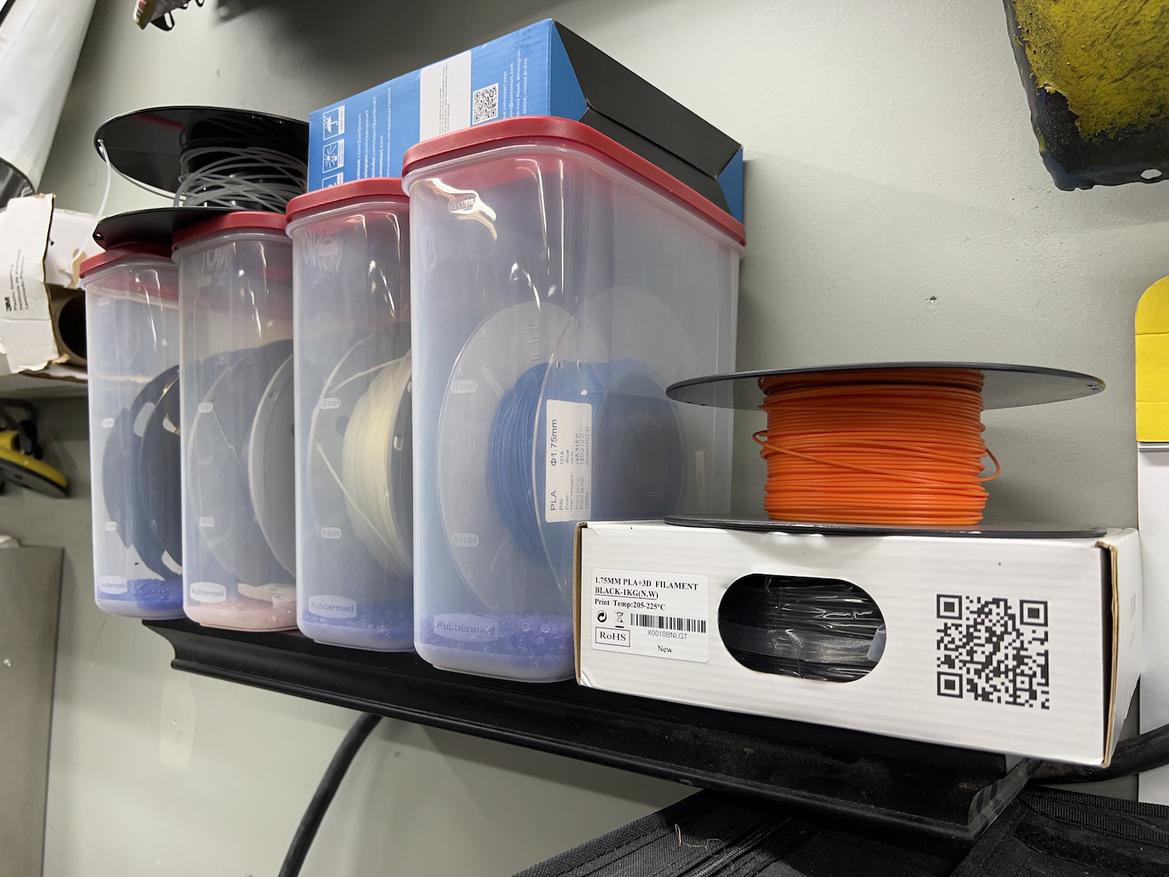
What can you do with an Ender 3? Let’s back up a minute and talk about FDM printer material. That plastic filament isn’t just “plastic;” it’s a specific type, and there are lots of choices.
We’ll start with the most common option: polylactic acid (PLA), the default choice for 3D printing. This plastic is nontoxic, biodegradable, and prints very easily. But there’s a downside: It prints easily because it begins to melt at a fairly low temperature, roughly 125 degrees Fahrenheit. That low melting point means it isn’t suitable for most automotive applications, as it will start to deform even if left in a parked car on a warm day.
What if you want to print parts that hold up to automotive temperatures? Meet ABS and PETG, two common plastics that an Ender 3 shouldn’t struggle too much to print. After experimenting with both, we settled on PETG as the best compromise between printability and strength, and haven’t had an issue using it for all sorts of automotive projects.
PETG starts to deform at around 175 degrees Fahrenheit, so it’s perfectly suitable for anything on a race car that doesn’t directly touch the driveline or brakes. ABS has an even higher temperature tolerance–about 225 degrees–but that makes it even harder for a printer to print.
Meet the Miata of 3D printers: Creality’s Ender 3. You can even modify it like a Miata, as illustrated by our glass bed and stiff orange suspension bushings.
There’s also PLA+, ASA, TPU, nylon, polycarbonate and all sorts of fiber-reinforced filaments on the market. How do you choose? The most important metric is called the “glass transition temperature,” and it’s what we’ve been referring to when discussing each material’s heat tolerance.
Rather than the melting point, which is higher and means “your part is a puddle on the ground,” the glass transition temperature is the point at which your part turns from solid to more of a molten-glass consistency, meaning it starts to get all rubbery. That’s bad.
Once you’ve picked a material with enough heat tolerance for your application, the rest of the decision comes down to printability and suitability. TPU, for example, is flexible, while PETG is considered food safe if you’ll be printing parts for your endurance race car’s drink bottle.
3D Printer Slicing
Congratulations, in just a few thousand words you’ve learned CAD, designed a part, bought a 3D printer, and chosen a filament. It’s finally time to smash that print button and see your design come to life.
Just kidding, you still have to slice your model using a program called a slicer. This process turns your three-dimensional model, which that printer has no ability to comprehend, into a series of commands that it can.
Those commands are called G-code. There are a few popular free slicing applications, with Ultimaker Cura being by far the most popular. Fusion 360 also has a slicer built into its design environment. We’ve used both with success, and in theory every slicer can be tuned to output identical G-code.
G-code is the most widely used CNC programming language, and its structure is remarkably simple. A G-code document is just a linear list of movements for your machine to follow. If you draw a CAD model of a cylinder, the G-code for your 3D printer would basically read “Move in a circle at this speed while extruding plastic. Move up slightly. Move in a circle at this speed while extruding plastic. Move up slightly. Move in a circle at this speed while extruding plastic. Move up slightly.”
Your 3D printer will never know or care that you’ve drawn a cylinder. It just knows where to move its extruder and how fast to move it. At typical settings, a 1-inch-tall cylinder has about 150 of these circular layers.
Those layers are why creating 3D printer G-code is called slicing. Your slicer turns complex geometry into layers with vertical edges, meaning a perfect cone is made up of a bunch of stacked circular layers that gradually get smaller in diameter.
How tall are the layers? As usual, it depends. Layer height is a tradeoff between resolution and print speed. Taller layers require fewer of them, but those vertical layer edges are more visible. Shorter layers have much less visible layer edges, but far more must be printed for an equal-height print.
Your slicer won’t just ask for a layer height, though. In fact, you’ll find hundreds of settings, from fan speeds to retraction distances, support, infill and more. We won’t dive into all of them here, but there are a few you should know about.
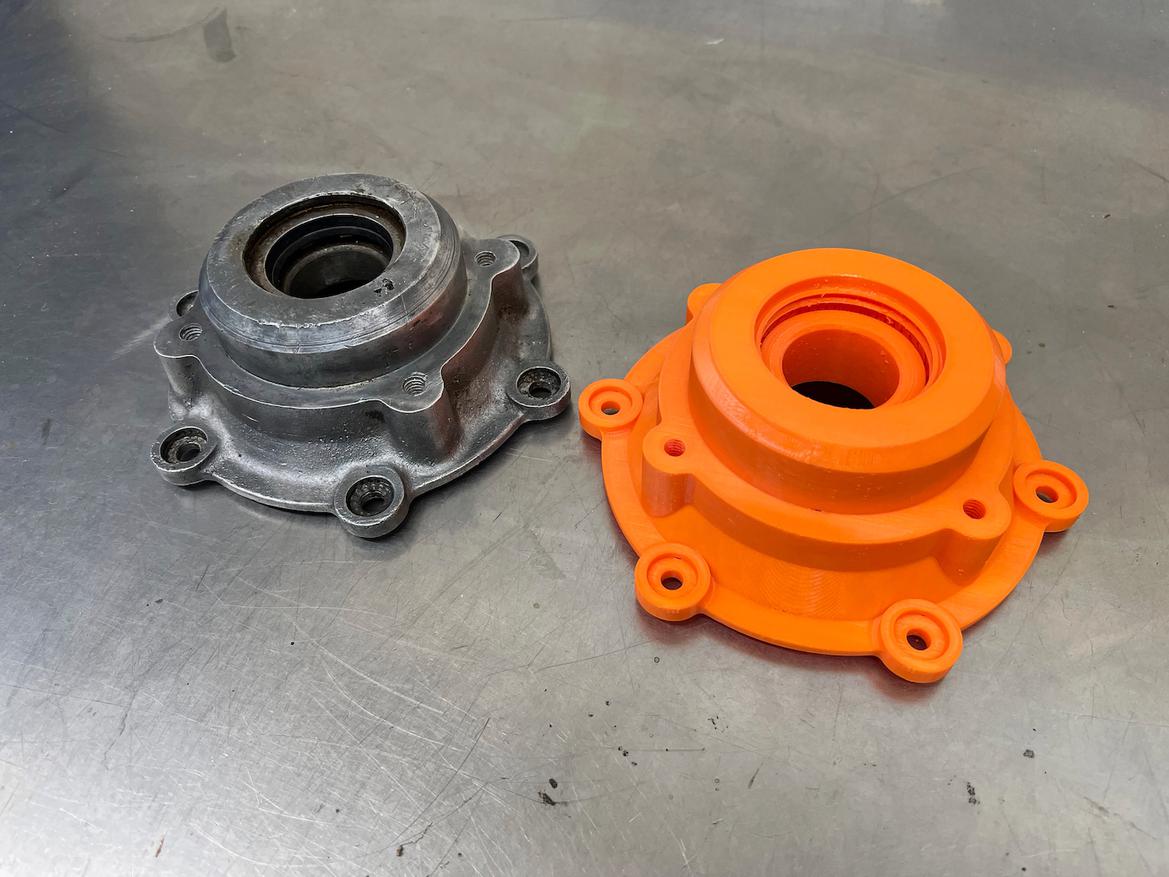
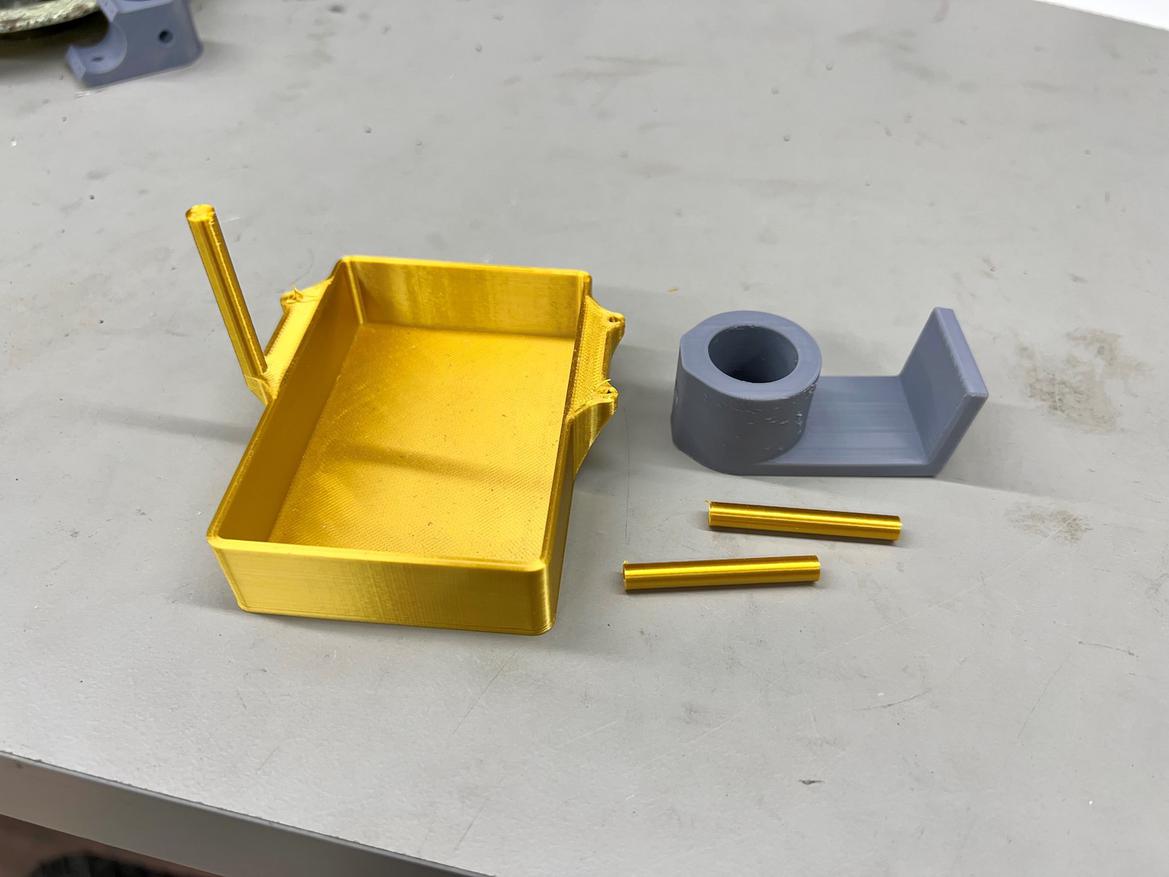
3D printers are able to make complex parts, but pay close attention to layer orientation when slicing. Try to keep forces parallel to layer lines, unlike this first attempt at the gold fuse box cover.
Orientation:
How you orient the part on your build plate matters. Changing the orientation can improve strength, reduce material waste, lower print time and more. We always try to print our parts so the highest forces are parallel to our layer lines, meaning they’re spread across each layer rather than trying to pull the layers apart from each other.
Infill:
You’ll see this term tossed around a bunch, and it’s a big part of how strong your 3D printed parts will be. Unlike injection-molded plastic parts, which are full-density plastic throughout, 3D printed parts are printed as hollow shells, with infill in the middle. This infill can take many shapes, with the most common being a grid or cubic pattern of interlocking lines.
We print parts that are just for show or test-fitting at 15% infill (meaning 15% of the interior volume is plastic), while structural parts seem to like at least 50% infill. And when we do print something fully solid, it’s usually stronger if we make the walls an infinite maximum thickness rather than to turn the infill up to 100%.
Temperature:
Every filament, and sometimes even a certain roll of the same filament, prefers a different temperature. It’s important to experiment with different bed and extruder temperatures, and even vary them depending on what you’re printing.
Building something nonstructural with a lot of unsupported extrusions? You may want to lower the temperature to improve bridging. If you’re printing something structural where appearance isn’t as critical, it might help to print at a higher temperature to improve layer adhesion.
Support:
3D printers can’t print on air; they can only print on top of something else, which is usually a build plate to start and then layers of plastic.
But what about when a part has holes, arcs or overhangs? Printers can accommodate printing at an overhang (usually around 60 degrees), but beyond that you’ll need to explore the world of supports. These are additional plastic structures, printed under those overhangs, that you’ll snap off the part once it’s done printing.
Time:
Welcome to the most precious resource in 3D printing: time. Printers may seem like magic, but that’s before you realize they consume cubic amounts of time to make parts. It’s not uncommon for modest prints to take 4, 6, 12 or even 24 hours, with our current record for longest continuous print clocking in at more than 38 hours. Every setting you change impacts the amount of time your part takes to print.


